- Descritption of RP2040 development enviroment
The information below could be found in the link
Installing the Toolchain
- Arm GNU Toolchain
- CMake
- Build Tools for Visual Studio 2022
- Python 3.10
- Git
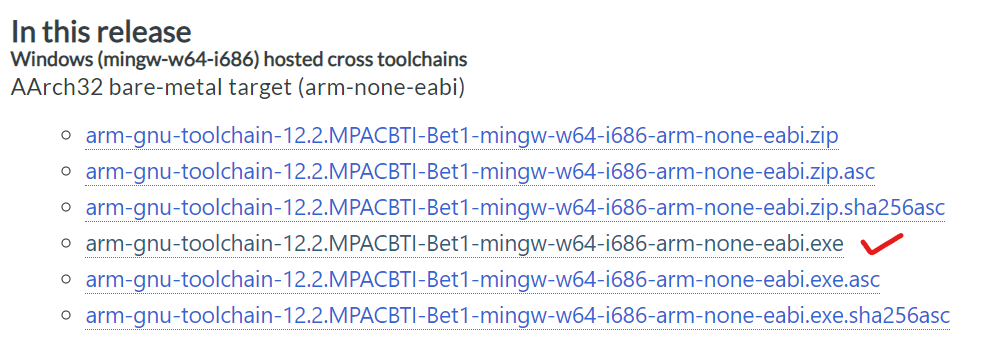
Installing Arm GNU Toolchain
Finding the filename ending with -arm-none-eabi.exe to download
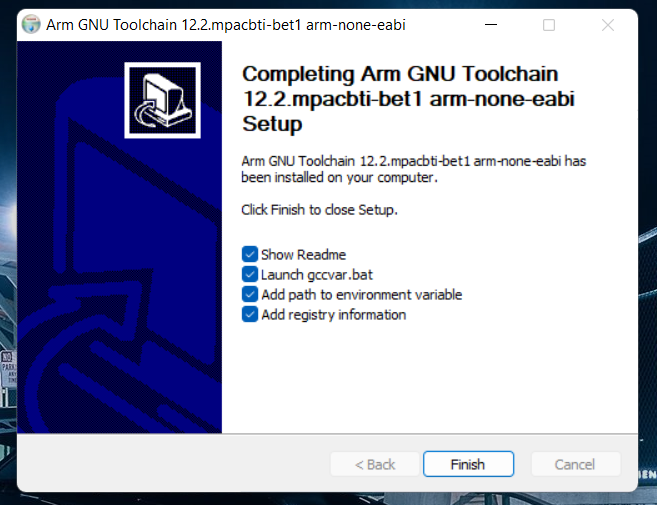
During installation, tick the box (Add path to environment variable) to register the path to the Arm compiler as an environment variable in the Windows shell when prompted to do so.
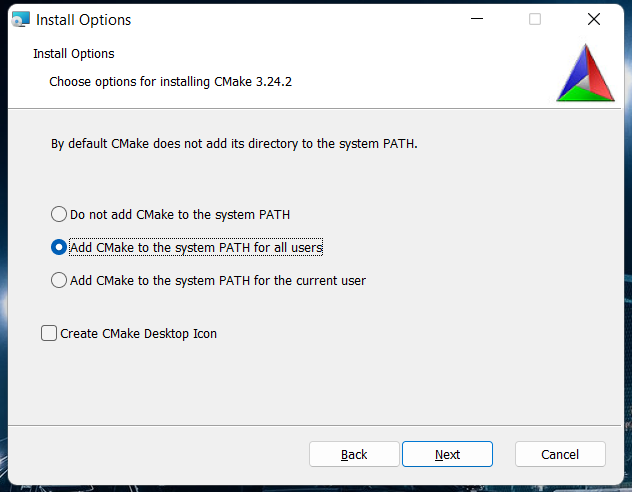
Installing CMake
- During the installation, add CMake to the system PATH for all users when prompted by the installer.
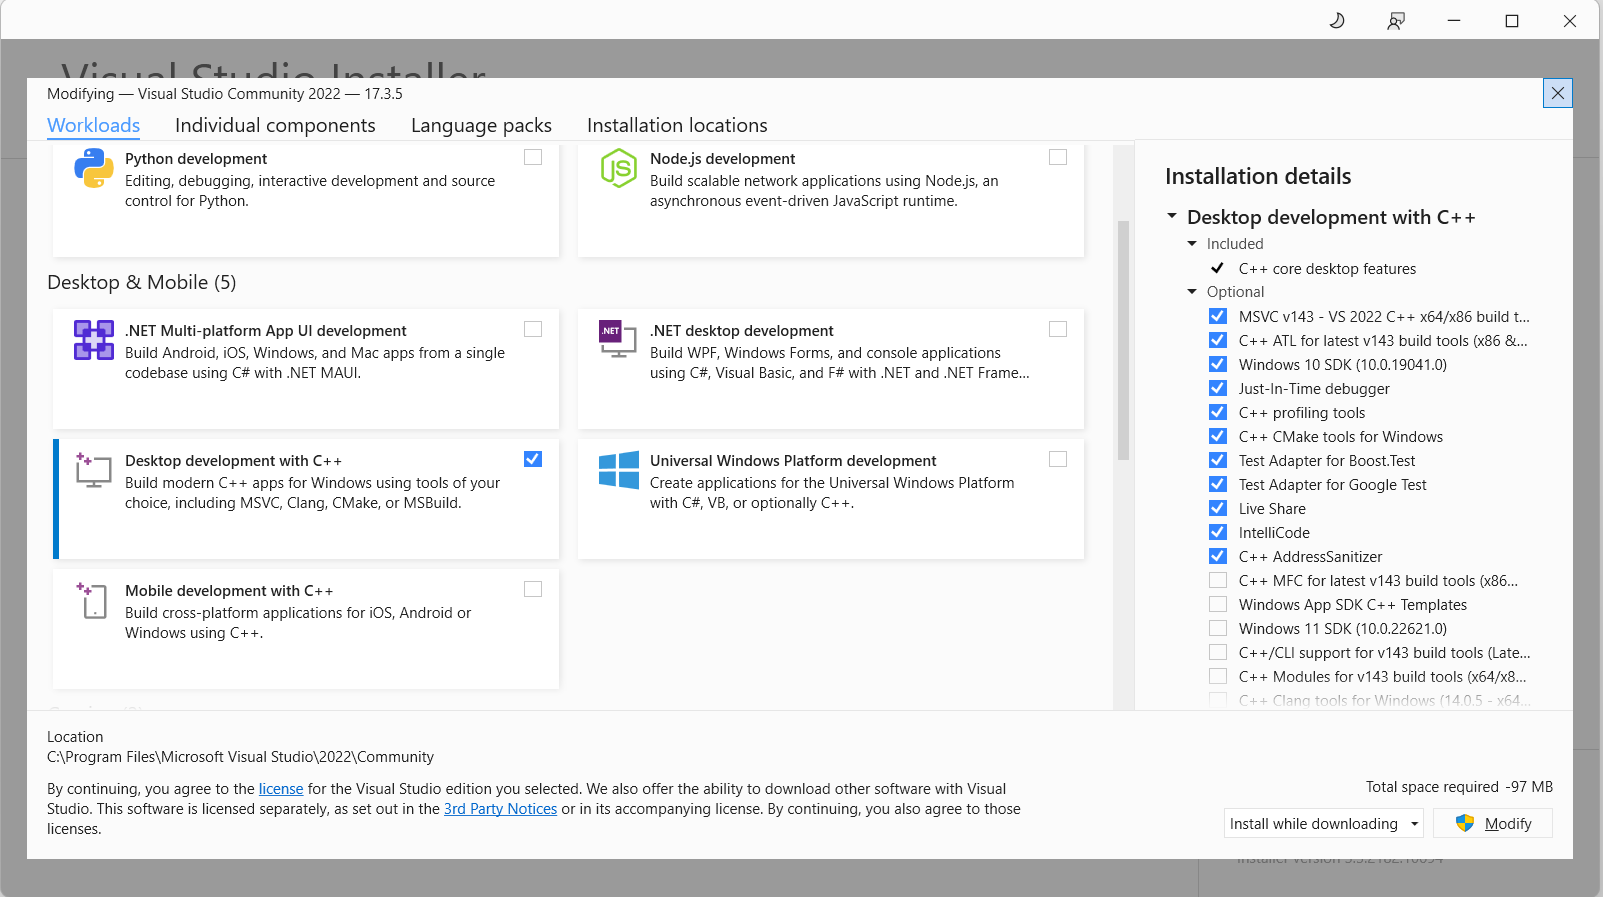
Installing Build Tools for Visual Studio 2022
- When prompted by the Build Tools for Visual Studio installer, install the C++ build tools only.
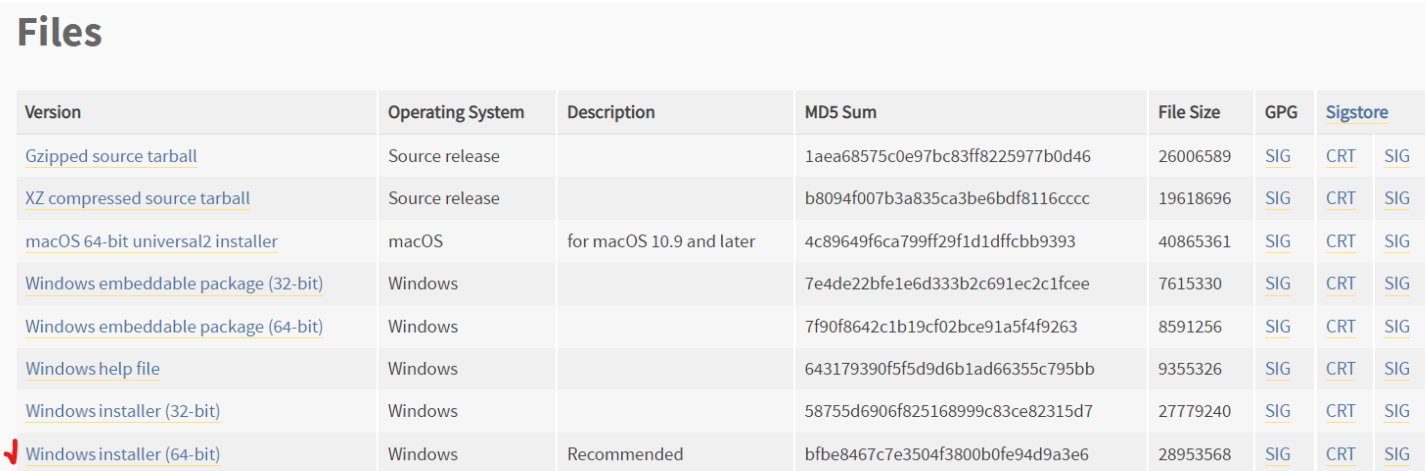
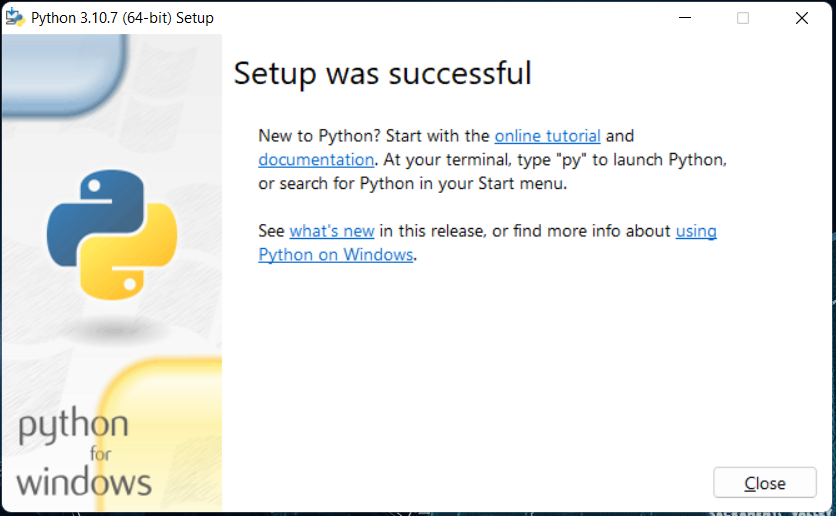
Installing Python 3.10
For windows system, install “Windows Installer”.
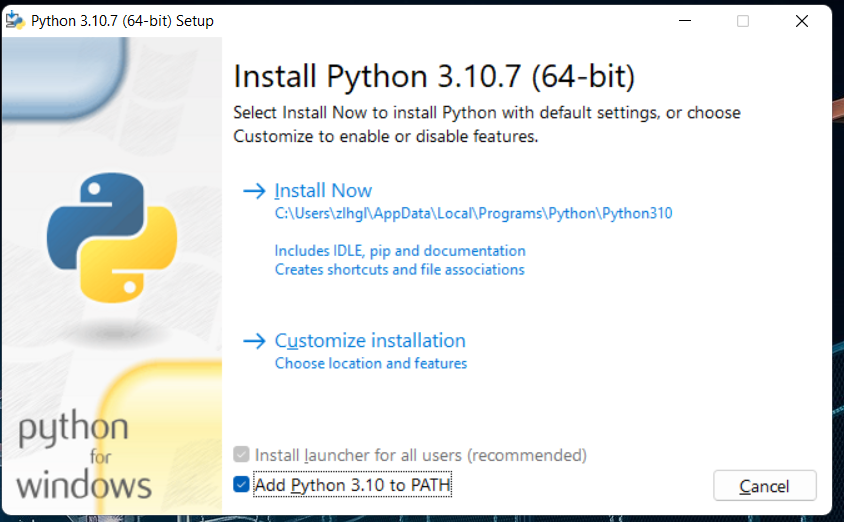
During the installation, ensure that,
- It’s installed ‘for all users’;
- Add Python 3.10 to the system PATH when prompted by the installer.
Additionally, disable the MAX_PATH length limit when prompted at the end of the Python installation.
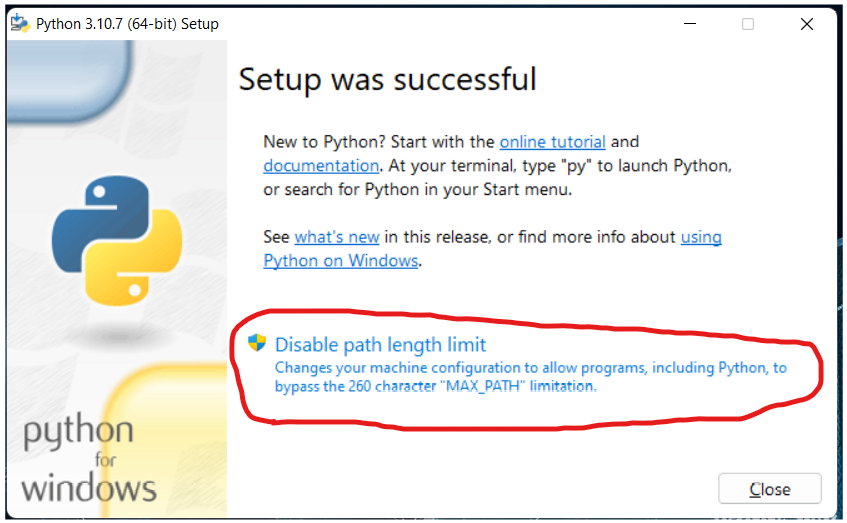
Then, python is successfully installed.
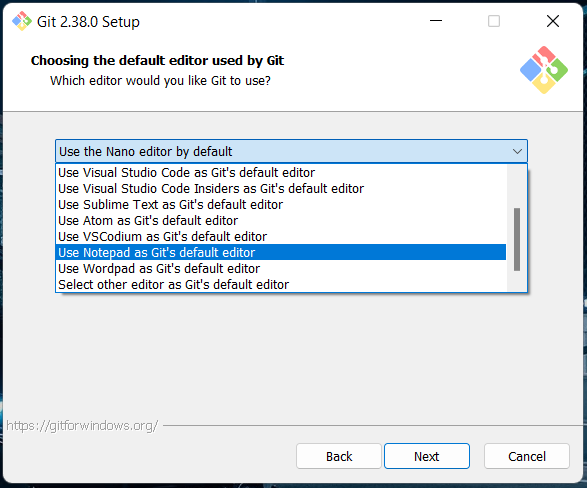
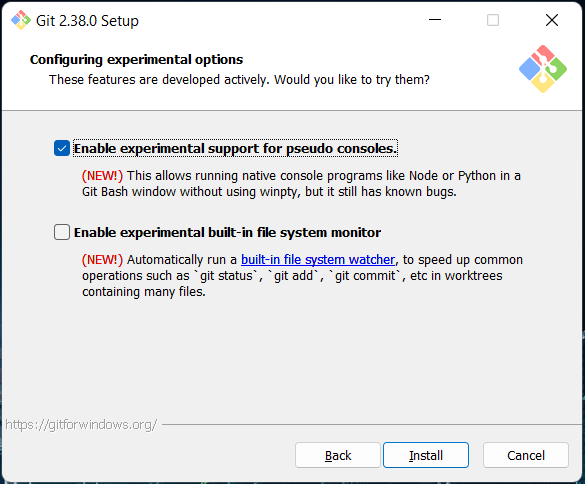
Installing Git
When installing Git you should ensure that you change the default editor away from vim to Notepad as Git’s default editor
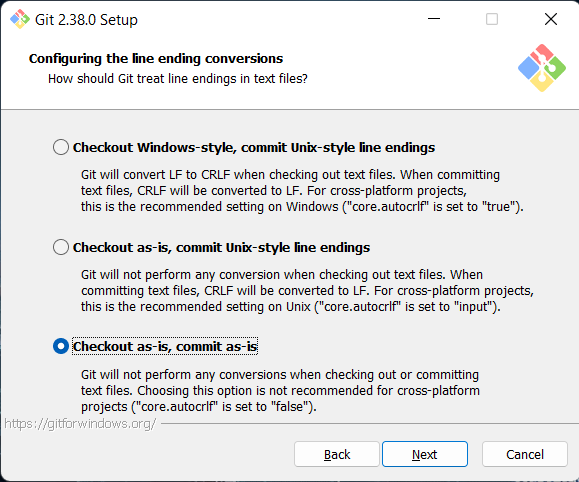
Check the box “Checkout as is, commit as-is”
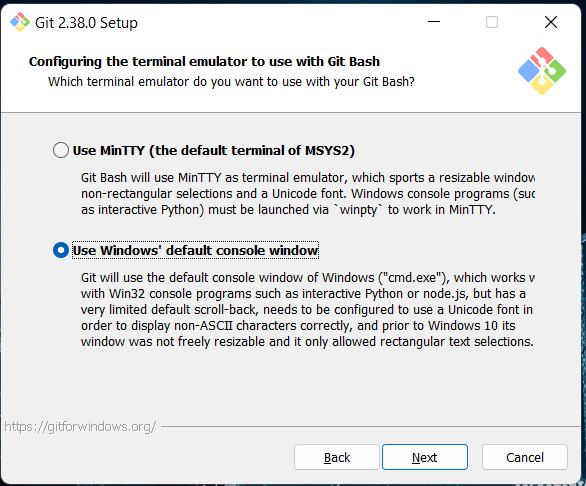
Select “Use Windows’ default console window”
Select “Enable experimental support for pseudo consoles”
Getting the SDK and examples
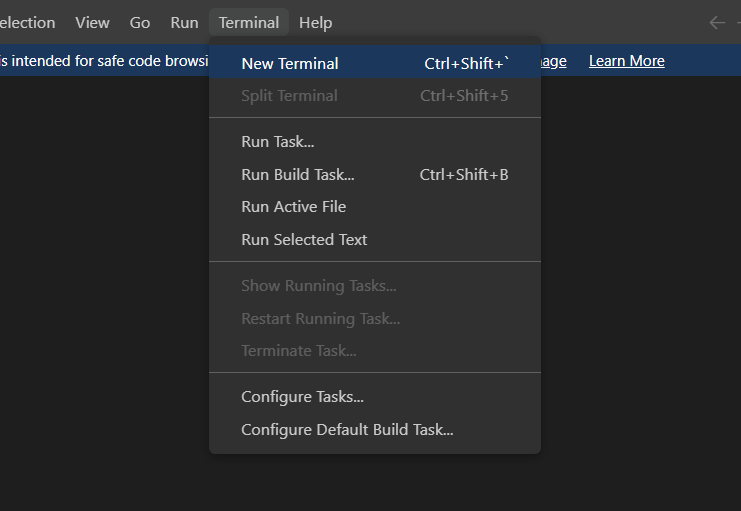
Open VS Code Terminal
Turn to initial address
cd to "C:\Users\zlhgl\ese5190_lab2\pico\Downloads"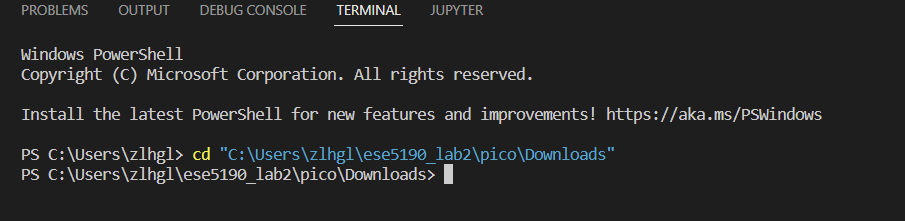
C:\Users\zlhgl\ese5190_lab2\pico\Downloads> git clone -b master https://github.com/raspberrypi/pico-sdk.git
C:\Users\zlhgl\ese5190_lab2\pico\Downloads> cd pico-sdk
C:\Users\zlhgl\ese5190_lab2\pico\Downloads\pico-sdk> git submodule update --init
C:\Users\zlhgl\ese5190_lab2\pico\Downloads\pico-sdk> cd ..
C:\Users\zlhgl\ese5190_lab2\pico\Downloads> git clone -b master https://github.com/raspberrypi/pico-examples.git
Building “Hello World” from Visual Studio Code
Download and install Visual Studio Code for Windows
After installation open a Developer Command Prompt window in Visual Studio 2022
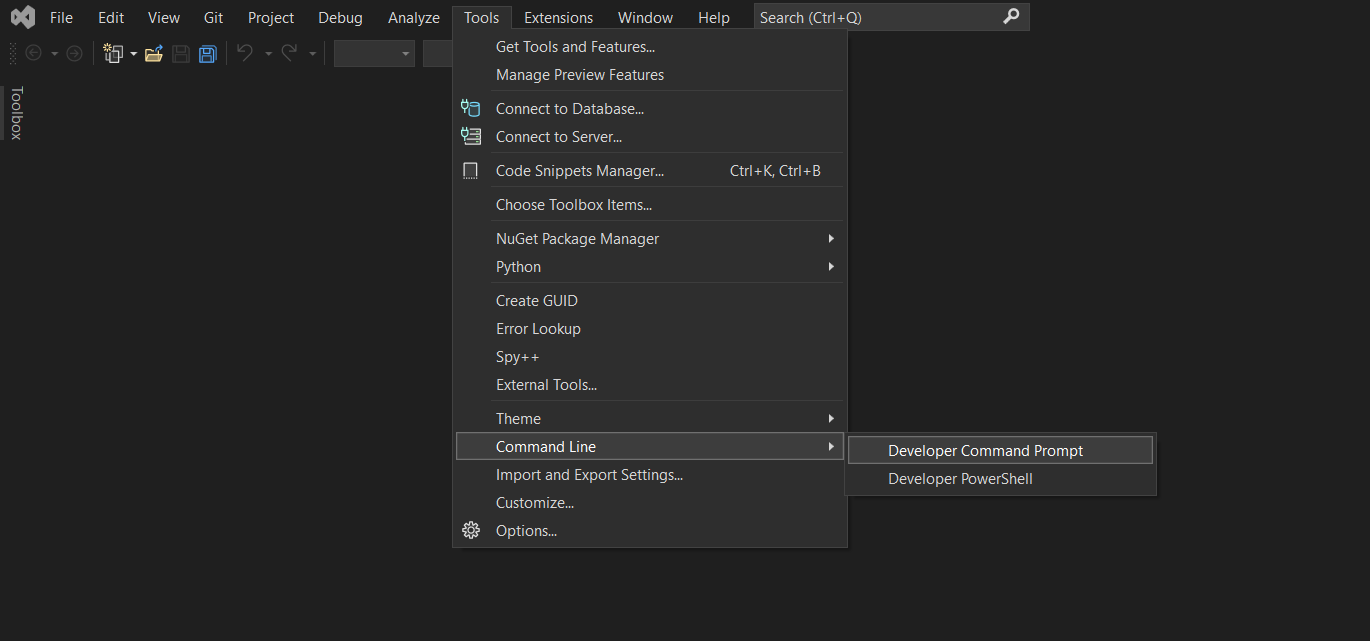
Open VS Code from Developer Command Prompt and type,
code
VS Code will be popped up.
Install the CMake Tools extension
- Click on the Extensions icon in the left-hand toolbar (or type Ctrl + Shift + X), and search for “CMake Tools” and click on the entry in the list, and then click on the install button.
- When installing, select “Trust Workspace & Install”
- Click on the Extensions icon in the left-hand toolbar (or type Ctrl + Shift + X), and search for “CMake Tools” and click on the entry in the list, and then click on the install button.
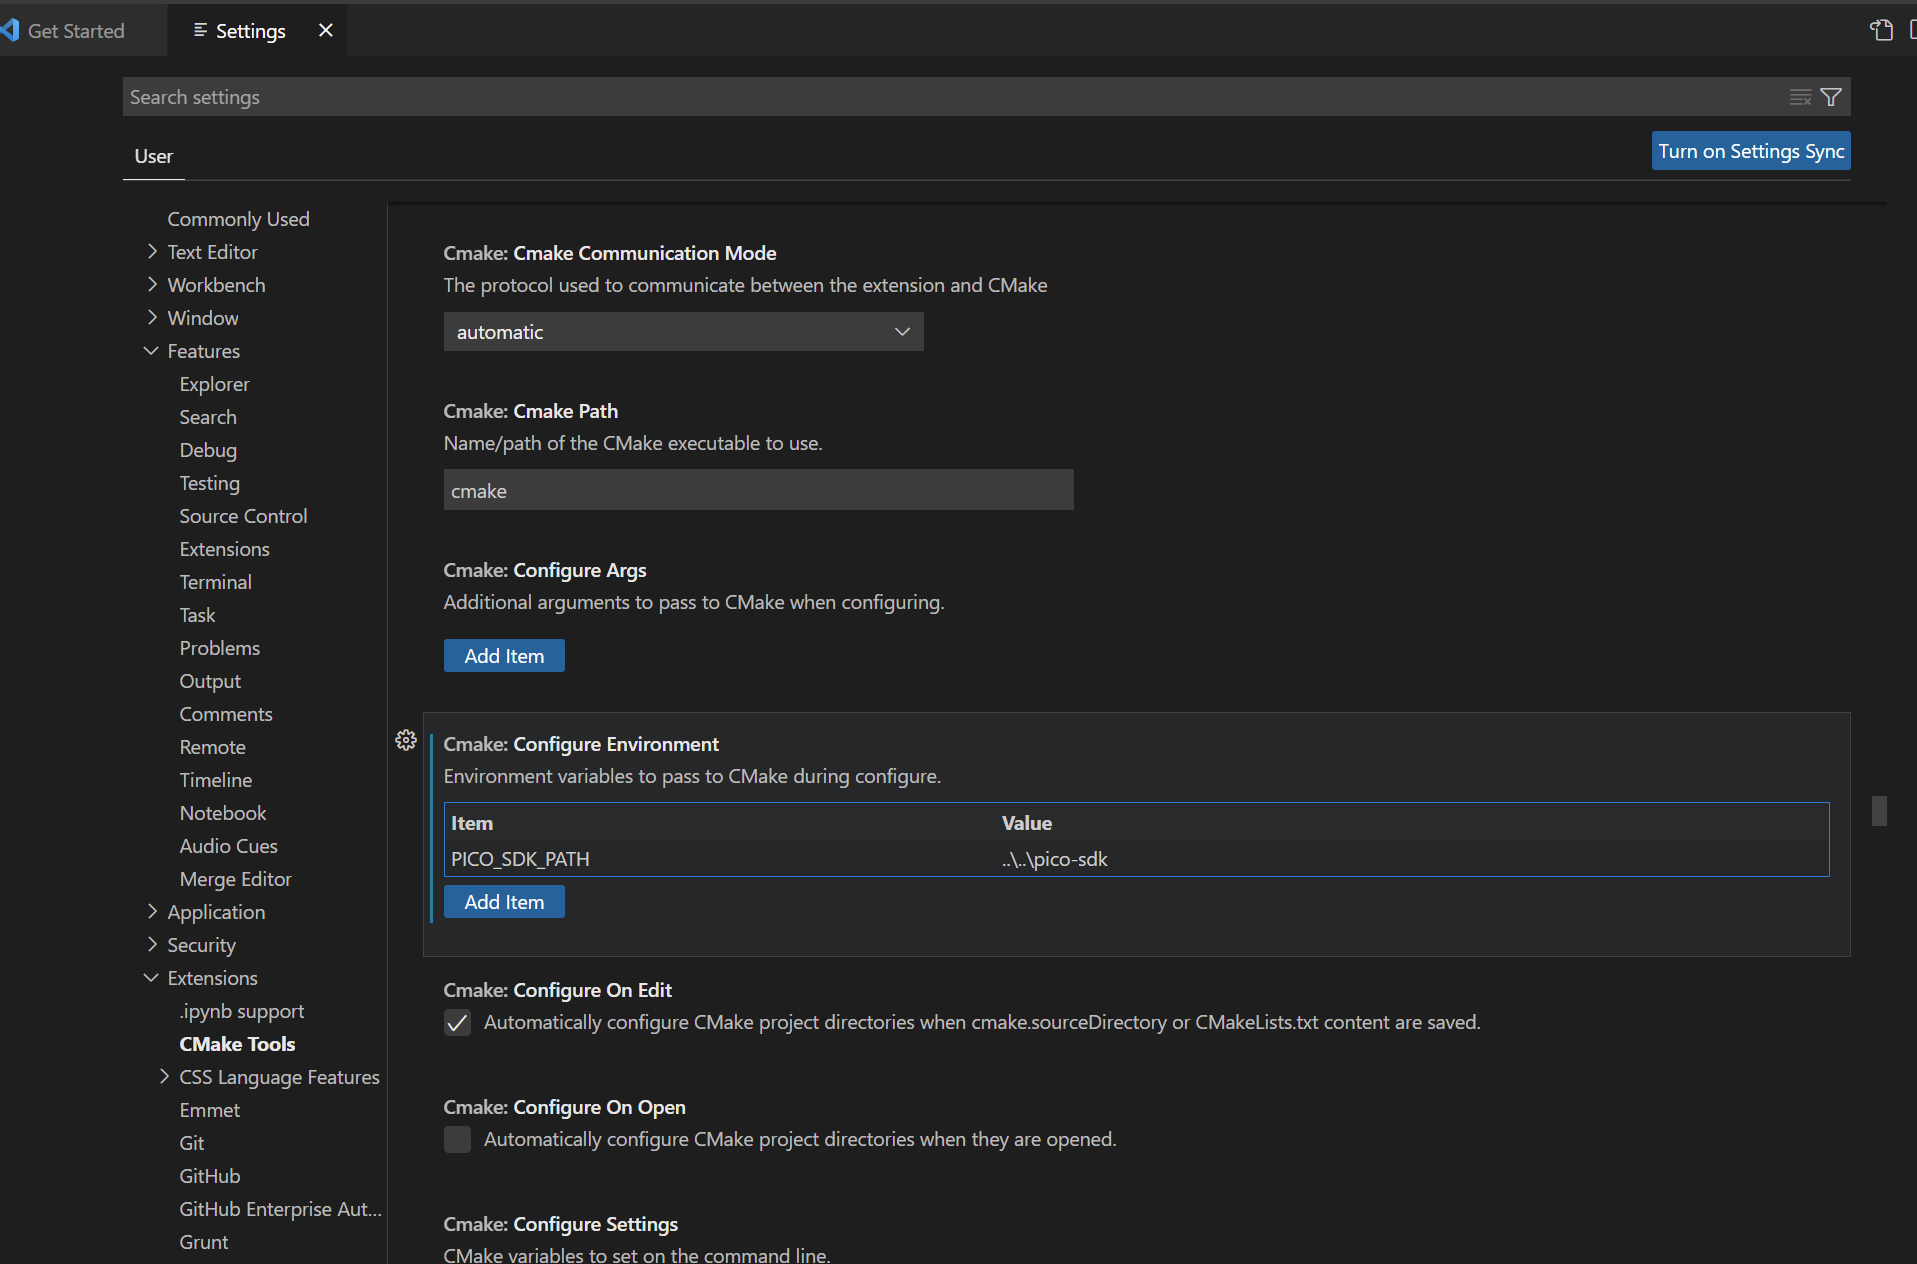
Then select “Settings”. In the Settings pane click on “Extensions” and then “CMake Tools”. Then scroll down to “Cmake: Configure Environment”. Click on “Add Item” and set the PICO_SDK_PATH to be ....\pico-sdk
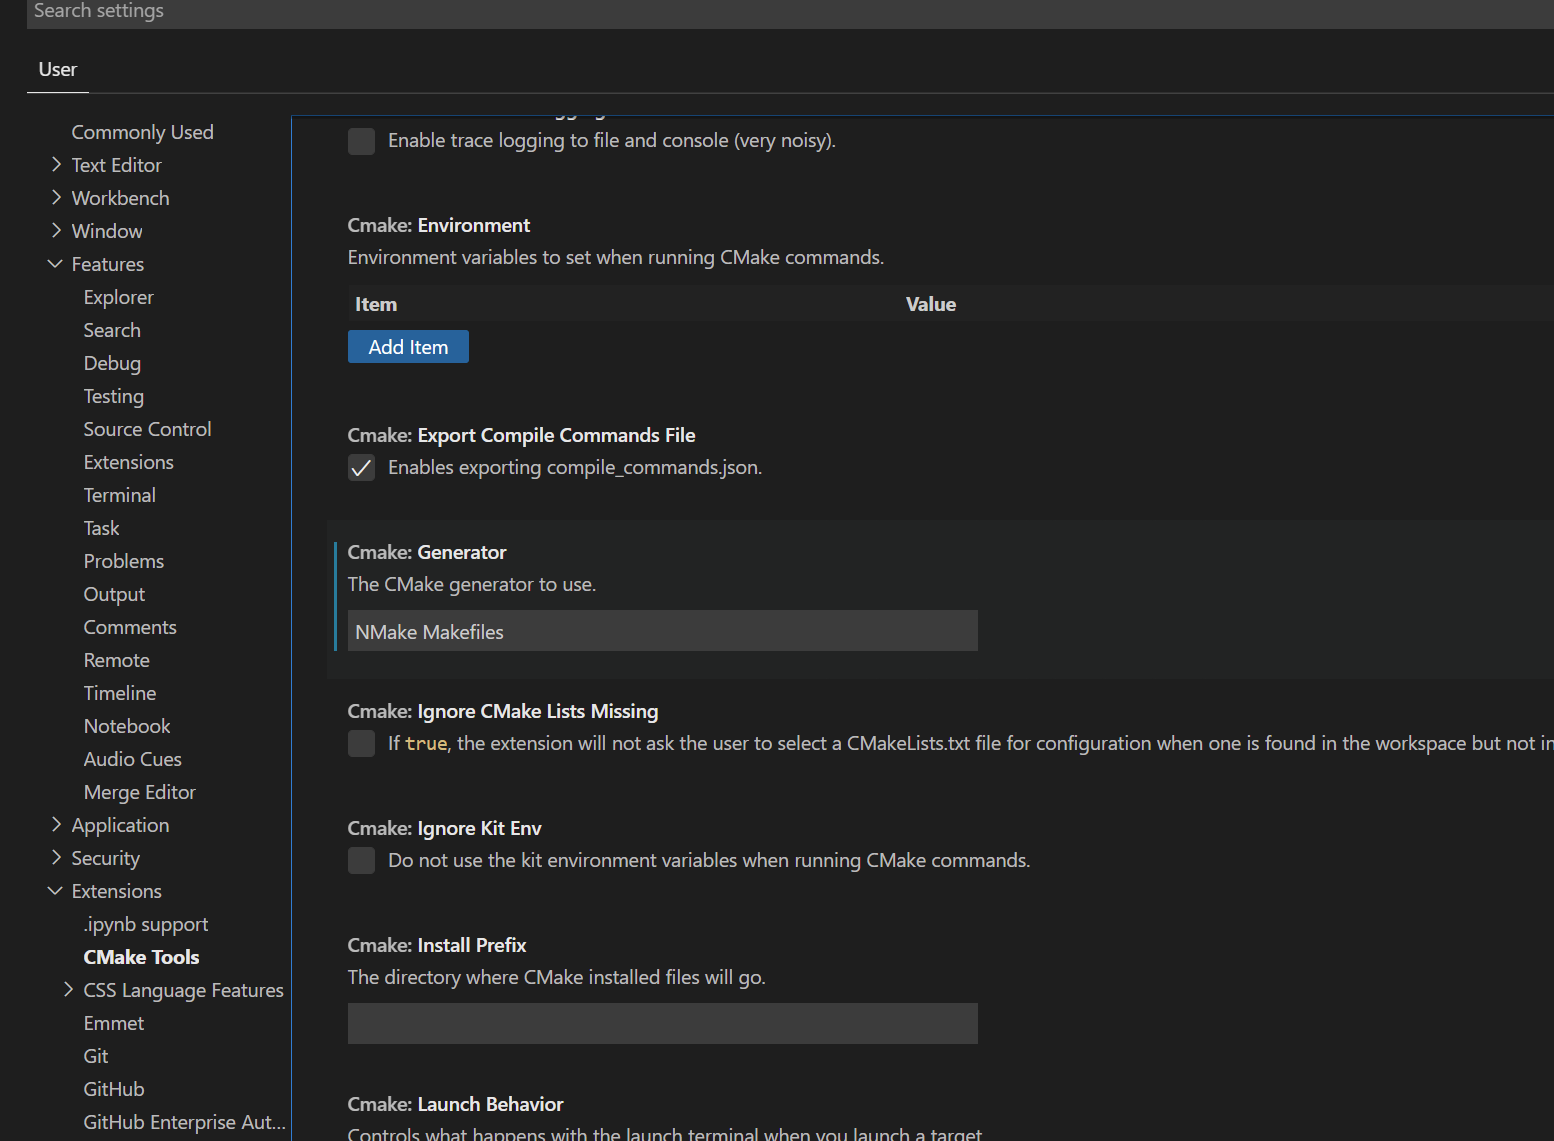
Additionally scroll down to “Cmake: Generator” and enter “NMake Makefiles” into the box.
Close the Settings page and go to the File menu and click on “Open Folder” and navigate to pico-examples repo and click “Select Folder”.
Select “GCC for arm-none-eabi” as the compiler

Connect the RP2040 to the Laptop
Reset the RP2040
- Hold down the BOOT/BOOTSEL button (highlighted in red) and plug into the USB-port.
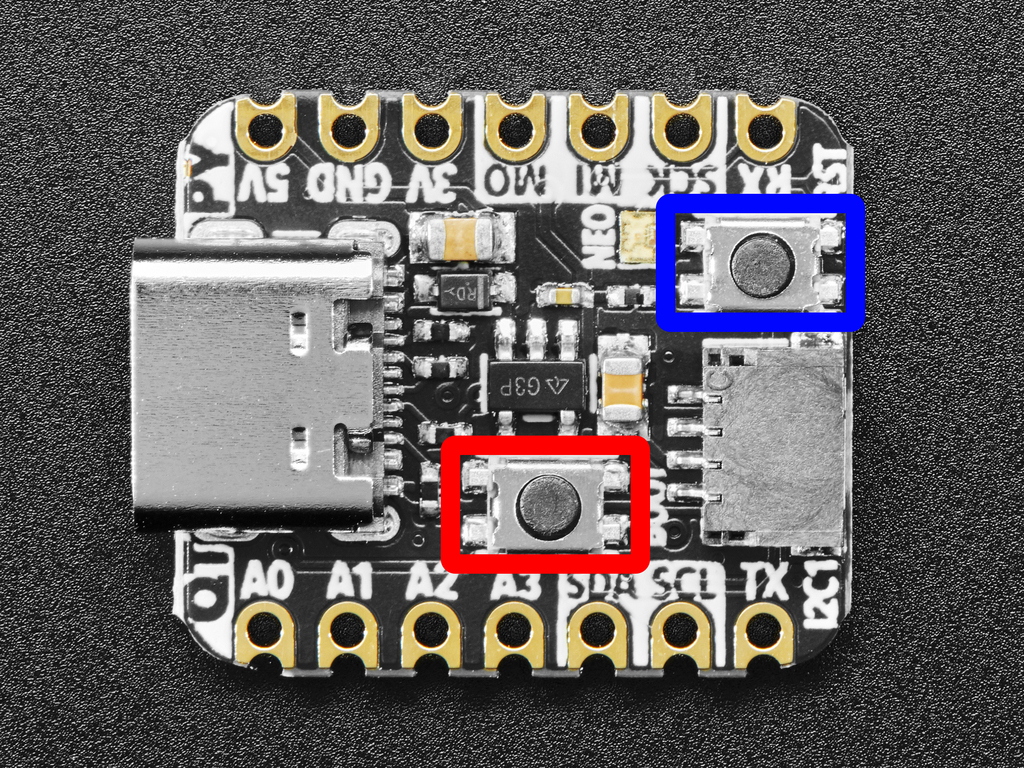
- Hold down the BOOT/BOOTSEL button (highlighted in red) and plug into the USB-port.
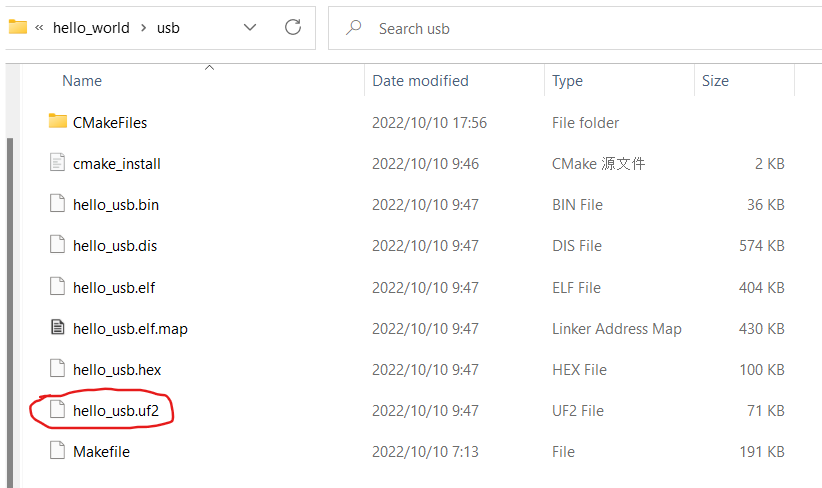
Drag and drop “hello_usb.uf2” into the drive. (The path of “hello_usb.uf2” is “C:\Users\zlhgl\ese5190_lab2\pico\Downloads\pico-examples\build\hello_world\usb”)
Installing Putty
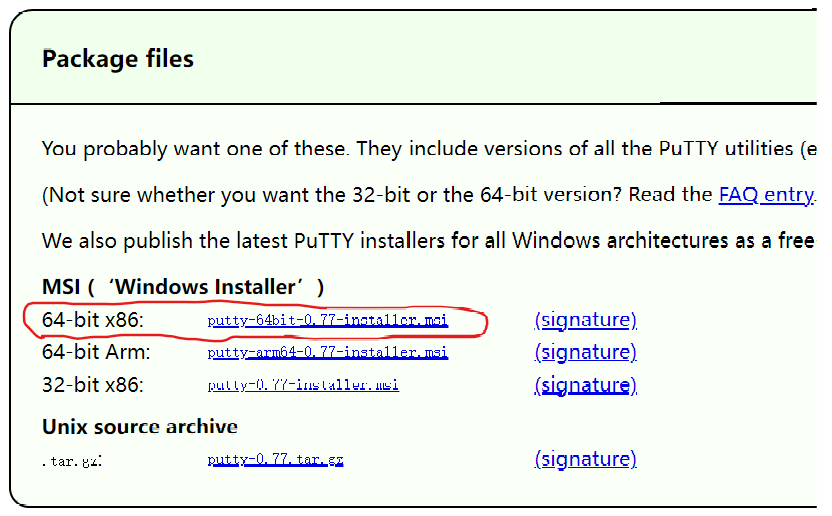
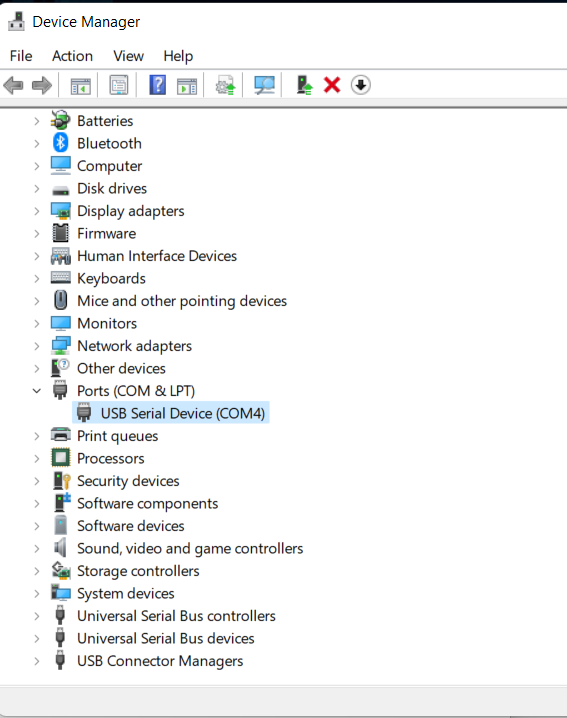
Find out which serial port the board (RP2040) is using Use Windows Device Manager to determine which port the board is using. Open Device Manager. Click on Ports (COM & LPT). You should find something already in that list with (COM#) after it where # is a number. Here, it is COM4.
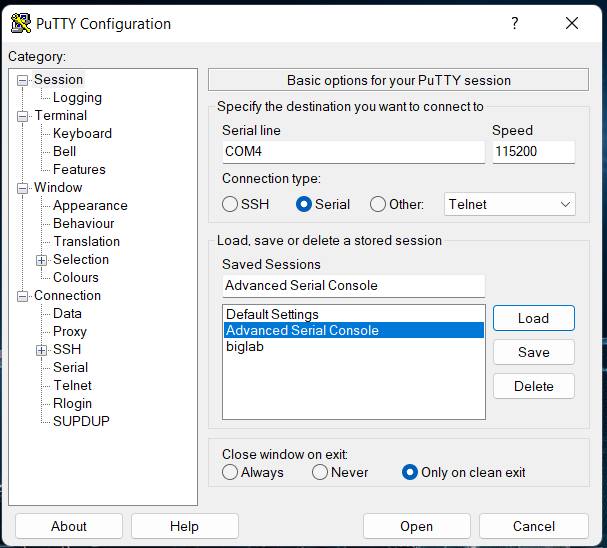
Then, open PuTTY:
- Under Connection type: choose the button next to Serial.
- In the box under Serial line, enter the serial port you found that your board is using.
- In the box under Speed, enter 115200.
- Save that as a stored session. Enter a name (“Advanced Serial Console”) in the box under Saved Sessions, and click the Save button on the right.
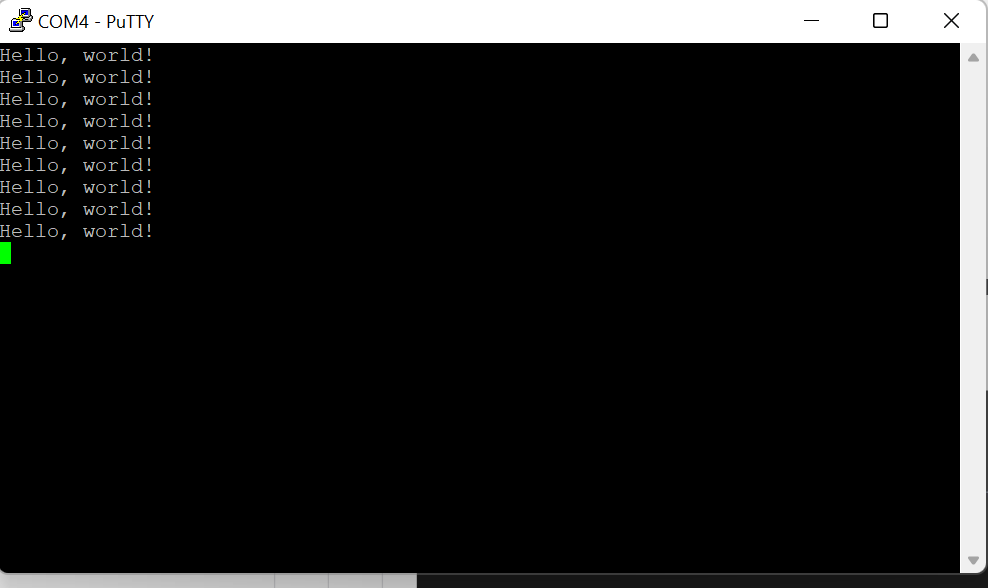
- Click “Open” at the bottom of the window. A new window will open
Result